The main objective of this chapter is to learn how to design a web space to transfer and give visibility to our digital narratives. Without requiring extensive knowledge of computer science, we will cover the essential components needed to create such a space. The content of this chapter has a more technical focus.
Following the previous chapter, we will outline the necessary elements for creating a user profile on a platform and, on the other hand, for creating a self-managed website.
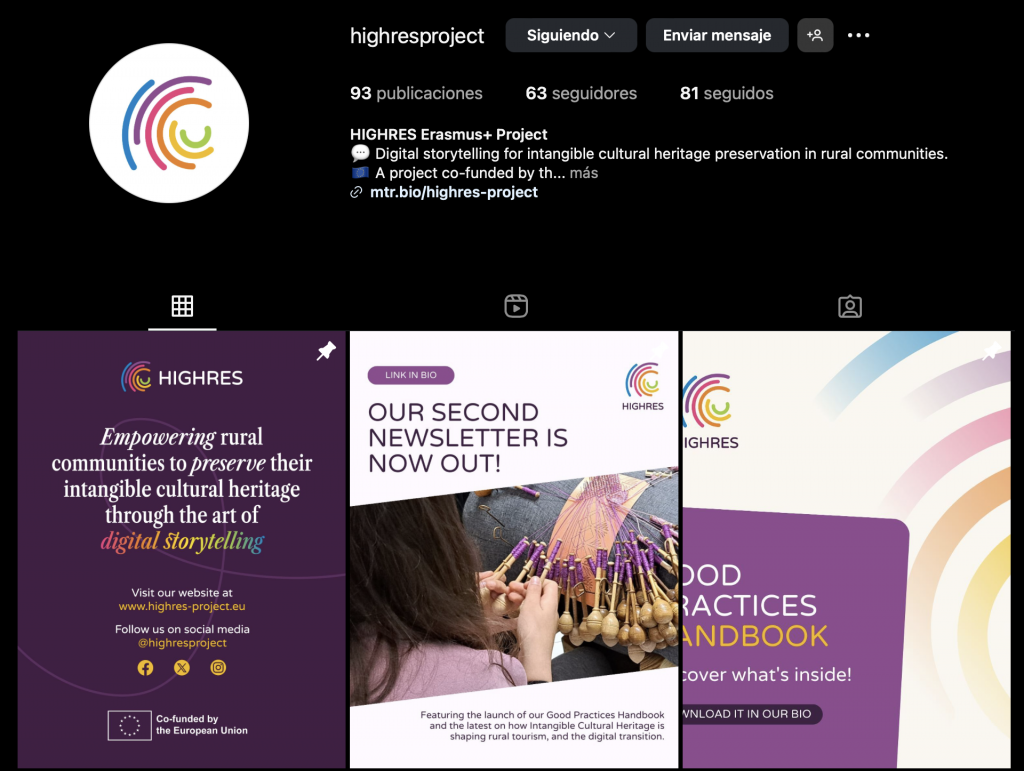
Creating a profile on a platform is relatively simple, you just need to provide an email address, set a password, and then design a few elements of the interface, like your profile picture, a short bio, username, and so on.
In the image below, you can see the interface of our profile on the social network Instagram. On the left, inside the circle, is our profile picture, and just to the right is the profile description. Below, you’ll find the content we’ve shared.
Fig. 2. Profile Interface of HIGHRES Project. Screenshot by authors.
In contrast, when we talk about a self-managed website, the process becomes more detailed and requires more patience. The essential elements we will encounter when designing a website are the following:
Create a domain
The domain is the name by which we identify the website, the URL address we enter into a browser to reach the site. For example: www.digitalnarratives.com or www.communityvoices.org.
Design the interface
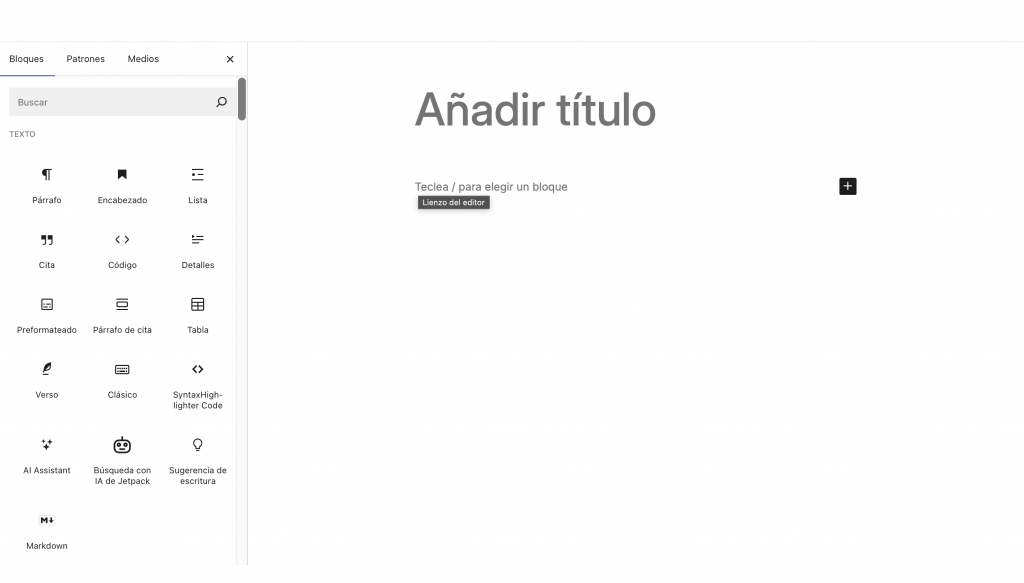
Content Management Systems (CMS) allow us to create our own website. Some of them offer a series of pre-designed templates that we can use for our site. These templates come with a predefined structure, colors, and tabs, which in some cases we can edit. If not, we would need to design the entire website from scratch—choosing colors, creating tabs, building a menu, etc. CMS platforms are becoming increasingly accessible, and in most cases they offer a side menu where you can select the elements to add to your site (fig. 1).
Fig. 3. Interface of a website in progress. In the side menu, we can see some of the available options. The image shows a screenshot taken from the WordPress editor.
Upload content
The final step is to upload content to our website. In this case, websites support audiovisual, graphic, and text formats. The menu we saw in the previous image allows us to upload files from our computer or an external drive. Additionally, in recent years, some content management systems have established partnerships with audiovisual content platforms to embed such content directly into the website. In Figure 2, we can see how the editing menu displays the options for adding multimedia content.
Fig. 4. Website editing menu in the multimedia section. The image shows a screenshot taken from the WordPress editor.